Monday, September 9, 2013

'Make-It Mondays'...Canning Tomato Soup

Good Monday to everyone....I am so glad you're able to join me today! It's a bit gloomy here today...but, we're going to warm it up a bit. 

Some days, when it's cloudy outside, and the weather seems a bit drab...I love to find something comfortable to wear and hang out all day doing what I love to do!
How bout' you?!

Well, today...we're going to the kitchen! It's really one of my favorite places to be in most days! I love to cook...it's very comforting to me!
And for that very reason...we're going to learn how to make one of my favorite all time COMFORT FOODS...
"Home-CANNED TOMATO SOUP"!

Yep, you heard me correctly...we're going to be doing a little bit o' canning today!

Alot of people don't think it's something that they have time for, or that they can even do it! But, that's simply not true! You don't have to be a nutritionist, or have a phd...however, you do have to be able to read a recipe...and have a few supplies to can with. 
That sounds simple enough...RIGHT?!

Let's hop to it then!
 You're going to need a few fresh ingredients...TOMATOES, CELERY, ONIONS and GARLIC!
Clean it all well in your sink. TIP#1: soaking your onions in cold water before you go to chopping away at it, will make your job a much more pleasant experience, if ya know what I mean! 
NO TEARS HERE!

After rinsing and cleaning...you'll want to add boiling hot water to your tomatoes in another container, so that you can easily peel the tomato skins off, before cutting them up to put into your cooking pot.
As you can see here, within a minute or two of dousing them with the boiling hot water...the skins start to lift all by themselves. Rid your tomatoes of any blemishes and of course...discard the cores! 
We only want the tomato to go into the pot here!
Next....With warm, clean water... you want to add a little bit in the bottom of your pot first, so your tomatoes don't stick to your pot...
then, begin adding all your other ingredients that you want to add in to give your soup FLAVOR!
You'll want to  finely chop up 1 lg. onion, 1 large hunk of celery, and about 3 lg. whole pieces of garlic. After it's all chopped up well, put it all in with the tomatoes...before you begin to cook it all down. I generally use about 8 quarts or so of tomatoes for this recipe.
Blend it all together, and continue to stir it occasionally...so the tomatoes don't stick to the bottom of your pot. Generally, this process takes about 20-30 minutes or so, to cook through....I like to simmer mine for another 10 minutes or so after it all begins to gently boil. 
 Hint....I make very large batches...but you can just make enough for just tonight's meal, if you prefer! It's all up to you...
Now, I put it through a hand-strainer (there's a few different devises out there in the stores...you might have a different model than I do). This is another kind I have, that I like to use as well...
Photo After straining the tomato blend all through the strainer, you only get the juice and some pulp from the tomatoes as you strain it down...
and you'll discard the rest of what's left inside...the chunks of onion, and celery...
 adding it to my skins from before, I put it all in my compost pile, out back of my barn...and I let 'mother nature' take its course!
Photo

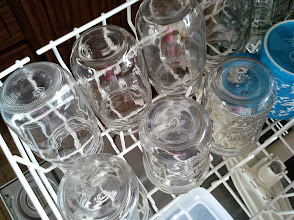
Next, I proceed to put the juice into my quart size jars that I've already washed in hot water (I like to put mine into the dishwasher first....gets em' all sanitized and we're not worrying about any microorganism growth for the future of your soup's shelf life!)
PhotoGathering up the rest of the items you'll need to finish canning your soup...lids, rings, your water bath canner...and something to get the jars in and out of the canner is always helpful, too! 
Make sure you sanitize your lids before placing them on your jar tops, and then carefully seal them with your jar ring ( I always make sure they're nice and tight)...it's all extremely instrumental in making sure to get a nice tight seal for processing your soup. 
Process them in the boiling water bath for 25-30 minutes, then...gently take them out, and place them on the counter for cooling. You'll want to place them on a support of towels for effective cooling, while protecting your counter from the extreme temperature of your jars as well. 
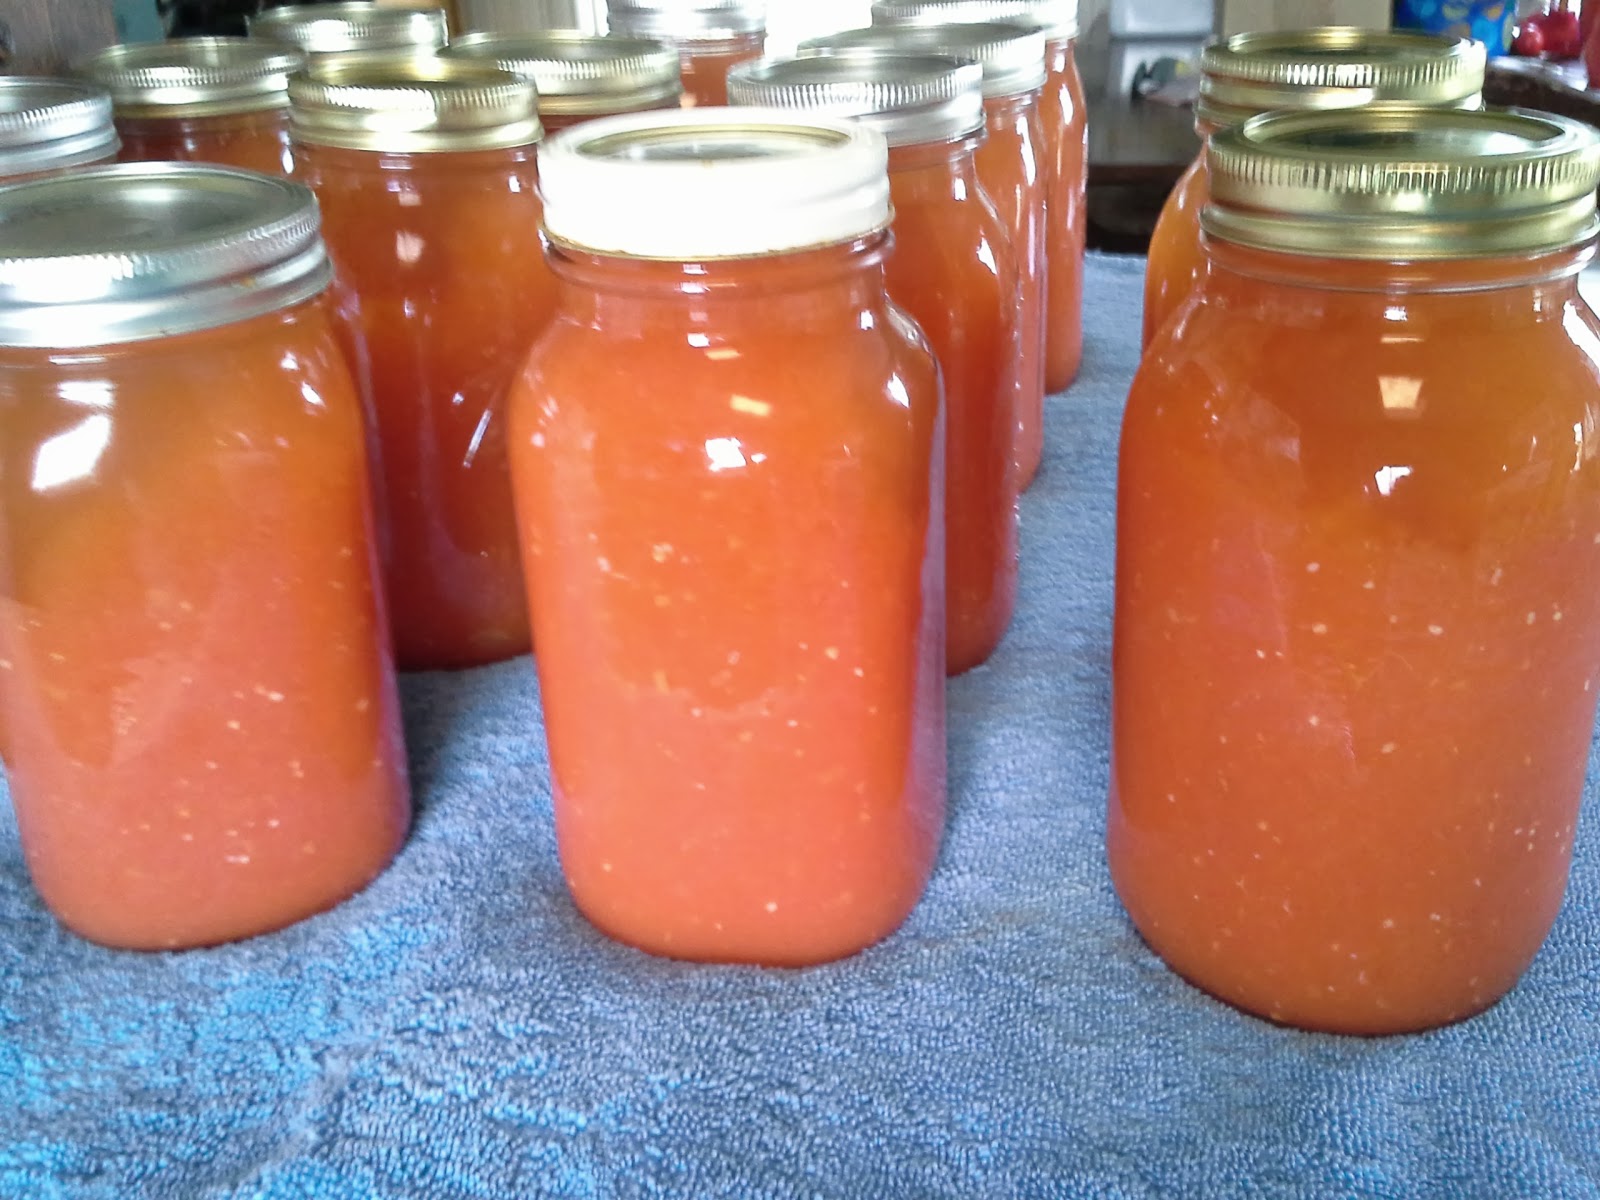
 Once they begin to cool, you will here some POPS...don't be alarmed...that's just your soup...curing for the long shelf life ahead!

Wha...la! Now, that wasn't hard...was it?!

Hope you enjoyed making homemade tomato soup with me today! 
Now...it's time for GRILLED CHEESE SANDWICHES, and Tomato Soup!
Yummmmm....more comfort food!

See ya next Monday...for more "Make-It Mondays", with Get Hooked with Tammy!
I pray you'll be enjoying the rest of your week...til' then!


Monday, September 2, 2013

"Make-It Monday" Week 2

Happy Labor Day all! It's sort of sad to see summer on it's way out...but, my truly favorite time of year is here! So, how can I be sad about that?! 


FALLing into large leaf piles, carving pumpkins and drinking crisp apple cider...but, more than not...dressing the part! 
I love to layer...with jackets, scarves, leg warmers, long sweaters and MORE! 

Greens, golds, oranges and reds...all mixed up with a lovely scent of cinnamon and strudel! 

Hot cocoa, melting marshmallows and loads of freshly whipped cream...
How can you get more FALLish, than that?!

With all that in mind...I decided it was time to start getting ready for playing outside in the cooler weather, with some gorgeous gold yarn and a newly designed pattern for 
'Over the knee legwarmers'!

Ready?!...Let's "Make-IT Monday"!

Pick out your favorite color yarn...mine happens to be a bright, bold gold today! For me, it's a color I love to wear with almost everything I have...
especially blue jeans and cowgirl boots!
But then, I'm a little more than just a country girl at heart...I actually live it! Which, for me...makes Hand-Made more of a lifestyle choice than most. 

With your yarn in hand...let's get our new pattern underway...
Go ahead and get your hook ready...I'm using a US/K/10.5 or 6.5mm hook today, along with
#156-Sungold/'I Love This Yarn'/from Hobby Lobby...100% acrylic; med. wt. 4 ply yarn
You will definitely need 2 skeins (approx. 450-500yds.) to make the set of leggings.

These will fit an average adult leg...I tried them on my daughter too...you can adjust them to fit, smaller or larger as you go!

Start with chaining 60 stitches, and add 1 more for a turning chain...
1.Now, turn your hook, and sc back into the second chain from your hook, and continue to sc across to the end...you will have 60 sc stitches. Now, ch 1 and turn.
2. When you start this row, you'll want to sc in the front loop stitch ONLY and sc in each back st. across to the end of this row...60 sc sts., chain 1 and turn.

3. In the next row, sc in each of the back loop stitch ONLY, and across to the end...60 sc sts., ch 1 and turn. (This gives you your beginning foundation to your legging, which will give you somewhat of a ribbed appearance as you go.)

4. sc (single crochet) in the front loop ONLY in the next 20 sts; hdc (half double crochet) in the next 40 sts, in the front loop ONLY! ch 2, turn...
*If you've never done a hdc before, here's a quick little tutorial to help you out with that!
http://www.youtube.com/watch?feature=player_detailpage&v=i6PRr58euF4

5. hdc in back loop stitches ONLY across the first 40 sts, and sc in the next 20 sts....(back loops only) to the end, ch 1 and turn.
6. repeat row 4
7. repeat row 5
8. - ? rows 
(as wide as you need to make it to fit your leg!) keep alternating your pattern as you go!
 You will begin to see your ribbing adding up as you alternate your every two rows, from your shorter (sc) sts. that are forming your ankle area, to your longer (hdc) sts. in the latter part of your legging pattern that's working up the leg and over the knee now.

And when you get your desired width that you need to stitch it together, to form the legging...you'll tie off your last st. on your final row...and leave a really long tail (about 3 times the length of your finish legging now, and cut to length...so, you can sew it closed.)

Take your time and sew it up (INSIDE OUT! It should not be ribbed on the side you are sewing on now)...being careful to keep it even as you go...you should have about 60 sts. when it's all sewed up. Tie off at the top, when you get it all sewed up and weave in your end, so it doesn't show or unravel.

Now, start with your yarn again (same color or change to a new color now!) We're creating the cuff of the over the knee legging here...
Slip stitch in your last chain made for this first row of sc sts. around...try to keep 1 sc st to each opening as you go around...don't turn the legging right side out yet...keep working from the flat side here, not the ribbed side. (It'll look nicer, when done!)
Sc around...and sl st to the first chain you made when you started that row...ch 1 and turn. 
Now, sc back around...same amount of sts. from previous row and sl st to first sc from that row. (HOWEVER, DON'T TURN NOW!) You will now be crocheting in the round, as you go up here. 
At the end of this round, you'll ch 2 before starting the next round. 
We are going to be adding a cabled ribbing now to our top edge...with FPDC and BPDC, by alternating every other st.
(Here's a good little tutorial to help you out with these fun little stitches, if you've never done it before!) 
http://youtu.be/5dxkIU2MMCQ


Each round you make, should be the same amount of stitches as you build up...and you will sl st to the first chain made from the previous round, and ch 2 before beginning again.
And...once you have about 5 rounds made...you'll ch 1 and sc in each st. around to make the last round before tieing off. Once done...weave in your end tail, and your legging is complete!
As you can see...it goes from your ankle, to over your knee! It's wonderfully adjustable....as you can see here...
Before I added the ribbed cuff on top...it fit my 7 year old's leg perfectly! 

Now...you can stitch up another one...so, you'll have a PRETTY PAIR of OVER-THE-KNEE-LEG WARMERS, to add to your FALL accessory collection this year!

Hope you enjoy making a pair for yourself, or as a gift of Handmade to someone you love!

I'd love to see yours...send me your pics! You're welcome to keep up to our day to day happenings on my facebook page...
http://www.facebook.com/get-hooked-with-tammy/
please, come and join us...for even more fun with yarn...where yarn and color is fiber-licious!


Monday, August 26, 2013

All new..."MAKE-IT" Mondays!

Good Monday all! Hope your day is going well! As with most Mondays...they have a way of being hectic and chaotic...first day back to work from the weekend, usually has most people frazzled!
However, I am trying to take a different approach to Mondays now...get you on the right track...with a new DIY Project! 
Something to unwind your day, MAKE-IT Mondays....a time to relax, reflect and redirect your energies to something BETTER...something HANDMADE...something LOVELY!

Are you ready?! Let's get started!

"The Oversized Cowl"!

First off...let's begin, by doing my favorite thing...picking the yarn colors! 
Now...this is what I call "STASH-BUSTING"!

Go through your current stash, and pick out a variety of colors that you love to wear...that's right, I said "LOVE TO WEAR"!

This is what I picked today...
 Some charcoal, linen, caramel, and a variagated yarn with all of these and some turquoise too! 
Next...just make sure that all your yarn choices that you're working with are the same weight, and washability! Then, it'll all go together very nicely....giving you a neat appearance when it's all said and done. I like to be able to throw mine in the wash if needed...so, I usually stick to polyesters and the blends...no wools here! 

If you're not sure about this...look here, on the back label...it'll tell ya everything you need to know!
Different label companies here, but still 100% acrylic, medium weight yarn and both machine washable! Perfect...now, let's keep going, shall we?

I've chosen a size K hook for this Oversized Cowl Project...you can choose a bit bigger or smaller, depending on the size you're looking for this to be when all is said and done.

Then, you'll want to chain 144 stitches with the yarn you want to start with first and end with last...or any number stitches that divisable by 4.

After you're done chaining, you'll want to join the two ends to each other...carefully unravel the two sides, so you're chain isn't twisted...now, carefully slip stitch you hook through your first stitch you made...and the two ends will now be connected; leaving you with a BIG CIRCLE. 
Then, Ch 1, and sc into the same stitch as your join....now, continue to sc around til you get back to your join again...and sl st into the first sc you made in that first row. 
Once you've got your first row done...you're going to be starting what this pattern calls ROUND 1...by following this wonderful little pattern here at www.redheart.com...it's a lace mitt pattern...so easy to follow...you can download the pattern and follow it from Round 1, to 2, to 3 and repeat...til' it's the size you'd like to end up with when it's all done!
***Remember, you're not making the mitts...you're only following the first part of the pattern, so you don't have to go any further than round 3...just keep repeating the same pattern until you get your desired length.
When you change your yarn color on the second round, if you choose to change your yarn at all...remember, this project is about you...you can MAKE-IT, anyway you LOVE IT!
Join the new color yarn, and turn...then, sl st into the next 3sc sts loosely...and ch 4, then dc in the same stitch as your ch4 (this is your 'V' stitch)....then, skip the next three sts and DC 5 times in the very next st...(that's your fan stitch)

Keep going throughout...each round, changing colors as you go...as many different colors as you like, and keep repeating your pattern as you go.
It should start to look something like this as you build UP each consecutive round...and when it's all said and done..it should look something like this...
 Of, course...I have to tie in all my ends yet, from all my color changes...but that's just a matter of getting my sewing needle out yet. No worries there...I could leave it and go with a 'fringe look' too, if I like...and you can too! Accessorize it any which way you like...it's all about you darling!

See ya next Monday...for our next "Make-It Monday"!
Hope you had fun...send me your pics!
I'd love to see all your finished projects too!

Happy Monday all!