Good Monday to everyone....I am so glad you're able to join me today! It's a bit gloomy here today...but, we're going to warm it up a bit.
Some days, when it's cloudy outside, and the weather seems a bit drab...I love to find something comfortable to wear and hang out all day doing what I love to do!
How bout' you?!
Well, today...we're going to the kitchen! It's really one of my favorite places to be in most days! I love to cook...it's very comforting to me!
And for that very reason...we're going to learn how to make one of my favorite all time COMFORT FOODS...
"Home-CANNED TOMATO SOUP"!
Yep, you heard me correctly...we're going to be doing a little bit o' canning today!
Alot of people don't think it's something that they have time for, or that they can even do it! But, that's simply not true! You don't have to be a nutritionist, or have a phd...however, you do have to be able to read a recipe...and have a few supplies to can with.
That sounds simple enough...RIGHT?!
Let's hop to it then!
 You're going to need a few fresh ingredients...TOMATOES, CELERY, ONIONS and GARLIC!
Clean it all well in your sink. TIP#1: soaking your onions in cold water before you go to chopping away at it, will make your job a much more pleasant experience, if ya know what I mean!
NO TEARS HERE!
 After rinsing and cleaning...you'll want to add boiling hot water to your tomatoes in another container, so that you can easily peel the tomato skins off, before cutting them up to put into your cooking pot.
 As you can see here, within a minute or two of dousing them with the boiling hot water...the skins start to lift all by themselves. Rid your tomatoes of any blemishes and of course...discard the cores!
We only want the tomato to go into the pot here!
 Next....With warm, clean water... you want to add a little bit in the bottom of your pot first, so your tomatoes don't stick to your pot...
then, begin adding all your other ingredients that you want to add in to give your soup FLAVOR!
 You'll want to finely chop up 1 lg. onion, 1 large hunk of celery, and about 3 lg. whole pieces of garlic. After it's all chopped up well, put it all in with the tomatoes...before you begin to cook it all down. I generally use about 8 quarts or so of tomatoes for this recipe.
 Blend it all together, and continue to stir it occasionally...so the tomatoes don't stick to the bottom of your pot. Generally, this process takes about 20-30 minutes or so, to cook through....I like to simmer mine for another 10 minutes or so after it all begins to gently boil.
  Hint....I make very large batches...but you can just make enough for just tonight's meal, if you prefer! It's all up to you...
 Now, I put it through a hand-strainer (there's a few different devises out there in the stores...you might have a different model than I do). This is another kind I have, that I like to use as well...
 After straining the tomato blend all through the strainer, you only get the juice and some pulp from the tomatoes as you strain it down...
and you'll discard the rest of what's left inside...the chunks of onion, and celery...
adding it to my skins from before, I put it all in my compost pile, out back of my barn...and I let 'mother nature' take its course!
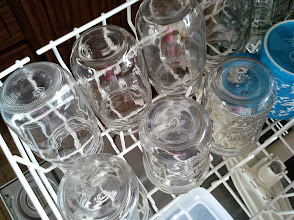
Next, I proceed to put the juice into my quart size jars that I've already washed in hot water (I like to put mine into the dishwasher first....gets em' all sanitized and we're not worrying about any microorganism growth for the future of your soup's shelf life!)
 Gathering up the rest of the items you'll need to finish canning your soup...lids, rings, your water bath canner...and something to get the jars in and out of the canner is always helpful, too!
Make sure you sanitize your lids before placing them on your jar tops, and then carefully seal them with your jar ring ( I always make sure they're nice and tight)...it's all extremely instrumental in making sure to get a nice tight seal for processing your soup.
 Process them in the boiling water bath for 25-30 minutes, then...gently take them out, and place them on the counter for cooling. You'll want to place them on a support of towels for effective cooling, while protecting your counter from the extreme temperature of your jars as well.
 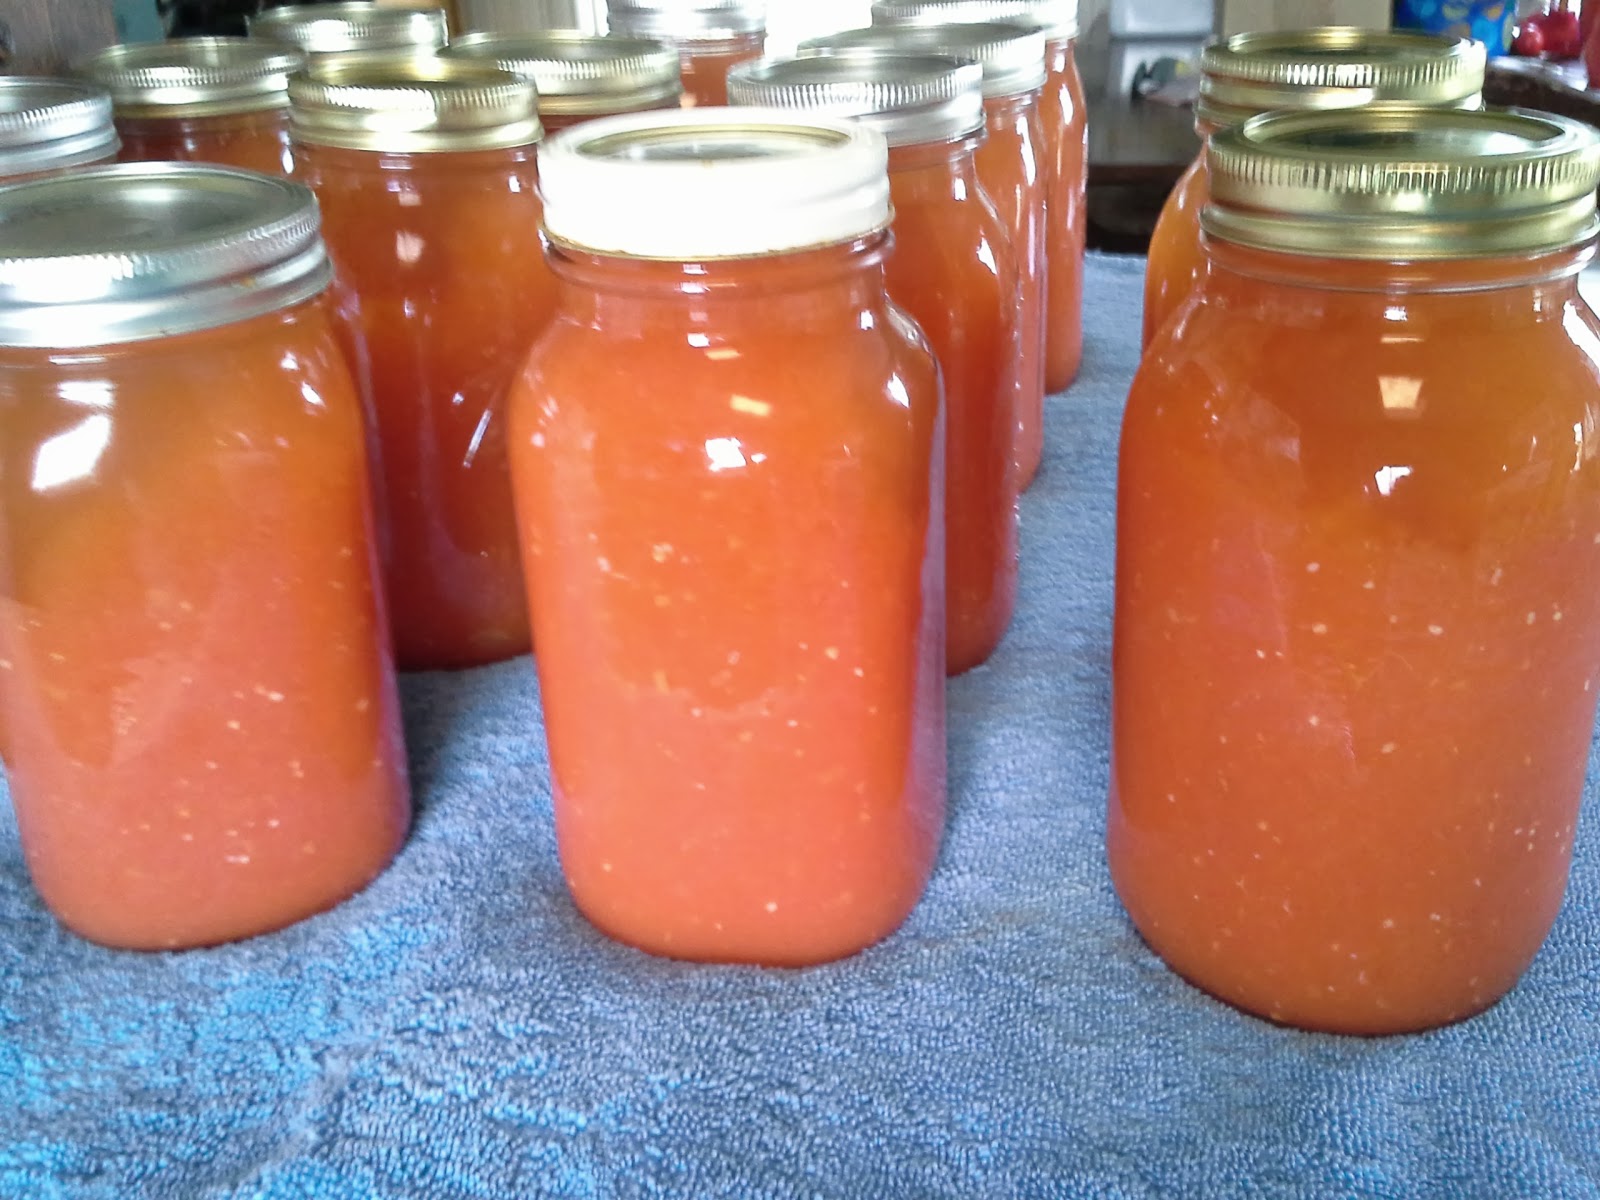 Once they begin to cool, you will here some POPS...don't be alarmed...that's just your soup...curing for the long shelf life ahead!
Wha...la! Now, that wasn't hard...was it?!
Hope you enjoyed making homemade tomato soup with me today!
Now...it's time for GRILLED CHEESE SANDWICHES, and Tomato Soup!
Yummmmm....more comfort food!
See ya next Monday...for more "Make-It Mondays", with Get Hooked with Tammy!
I pray you'll be enjoying the rest of your week...til' then!


